on the following picture you can see what happens if you are sitting in front of the computer all the day. Be aware ! ;)
Monthly Archives: April 2009
Compiling WSPR for Linux (Ubuntu 8.10)
Here the steps that lead to successfully starting WSPR 1.1 on my Ubuntu 8.10 system:
From OH2GQC i got the information how to checkout the sources (You need SVN installed before):
mkdir src
cd src
svn checkout svn://svn.berlios.de/wsjt
cd wsjt/branches/wspr
now you need a couple of packages necessary to compile/run WSPR. The list can be found at WSPRNET.org
python2.5-dev
python-numpy 1.1.1 (no problems with this version here yet)
python-imaging tk
python-pmw
libportaudio2
libportaudio-dev
portaudio19-dev
libsamplerate0-dev
subversion
subversion tools (I may have thrown this in for good luck)
python-svn
In addition the gfortran compiler seems not valid for WSPR. Download the g95 debian package and install it. This compiler will work.
When i tested the revision of the trunk of the WSJT tree was something 11xx. There i got several error messages after typing make. Therefore i reverted the directory of WSPR back to r1045 which was said to be ok. I did this in the WSPR directory with the command:
svn up -r 1045
After that a ./configure should work and after that make should do all the compile stuff.
After that start WSPR with the command:
python wspr.py
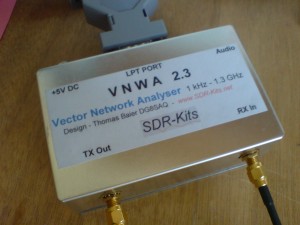
VNWA completed
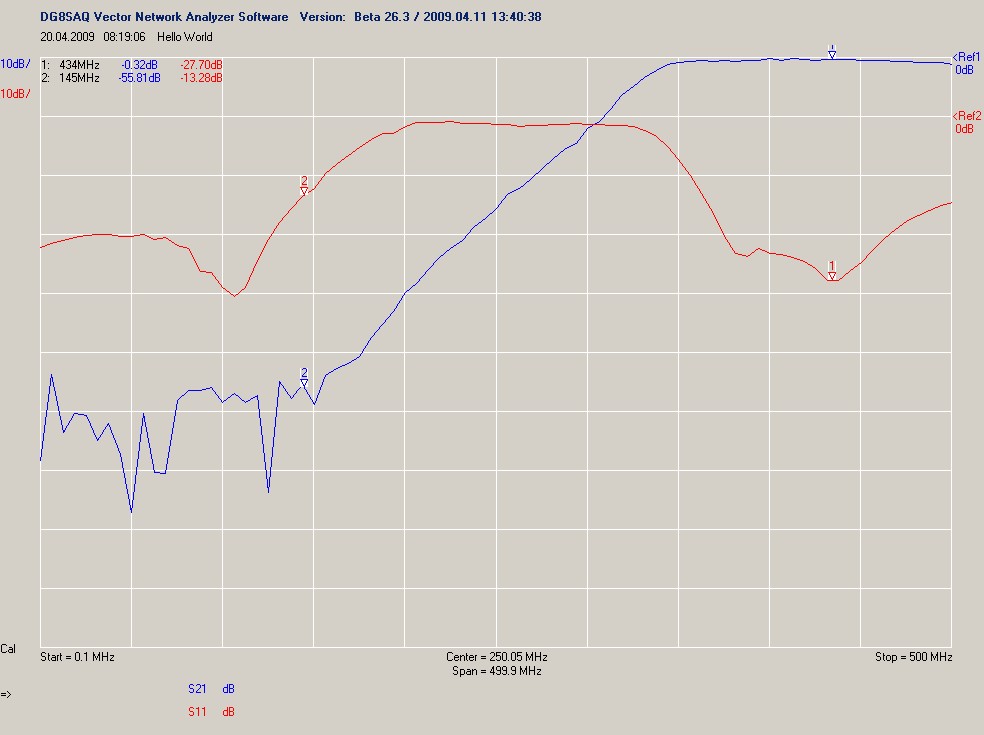
Today i finished the work on my DG8SAQ VNWA and did some experiments measuring filters and antennas i already had reference results for. The results are really good for such a simple hardware.
The next picture shows a screenshot of the UHF part of my homemade diplex filter.
Building up DG8SAQ VNWA
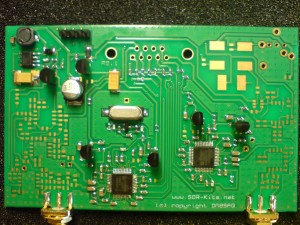
Beginning this week i received my DG8SAQ Vector Network Analyzer kit. I used some of the rare time this week to start the assembly of the kit. Until now i finished the assembly and testing of the power supply section and the both DDS sections. Mounting the DDS IC’s was a little bit difficult even with a stereo microscope and hot air station. The PCB i got was gold plated without tin. For the first DDS i tried to solder the pins first and then i tried to get the solder tin through the open vias at the bottomof the PCB to the top side. My fear was that there might be no connection beween ground and the exposed pad of the DDS. So i removed the chip again. I saw that my fear was not confirmed. The exposed pad was clearly soldered before. Cleaning the pads and soldering the chip a second time was really tougth job …
Two sections of the circuits still to do. Lets see !
MiniDDS signal generator
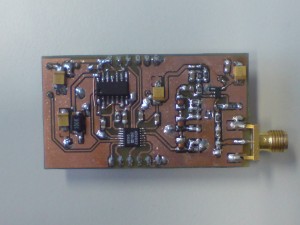
I uploaded sources and documentation for my tiny DDS signal generator. The page can be found here
It is using a AD9832 DDS generator IC from Analog Devices and can produce signals up to 10MHz (up to 20MHz if a AD9835 is used).


